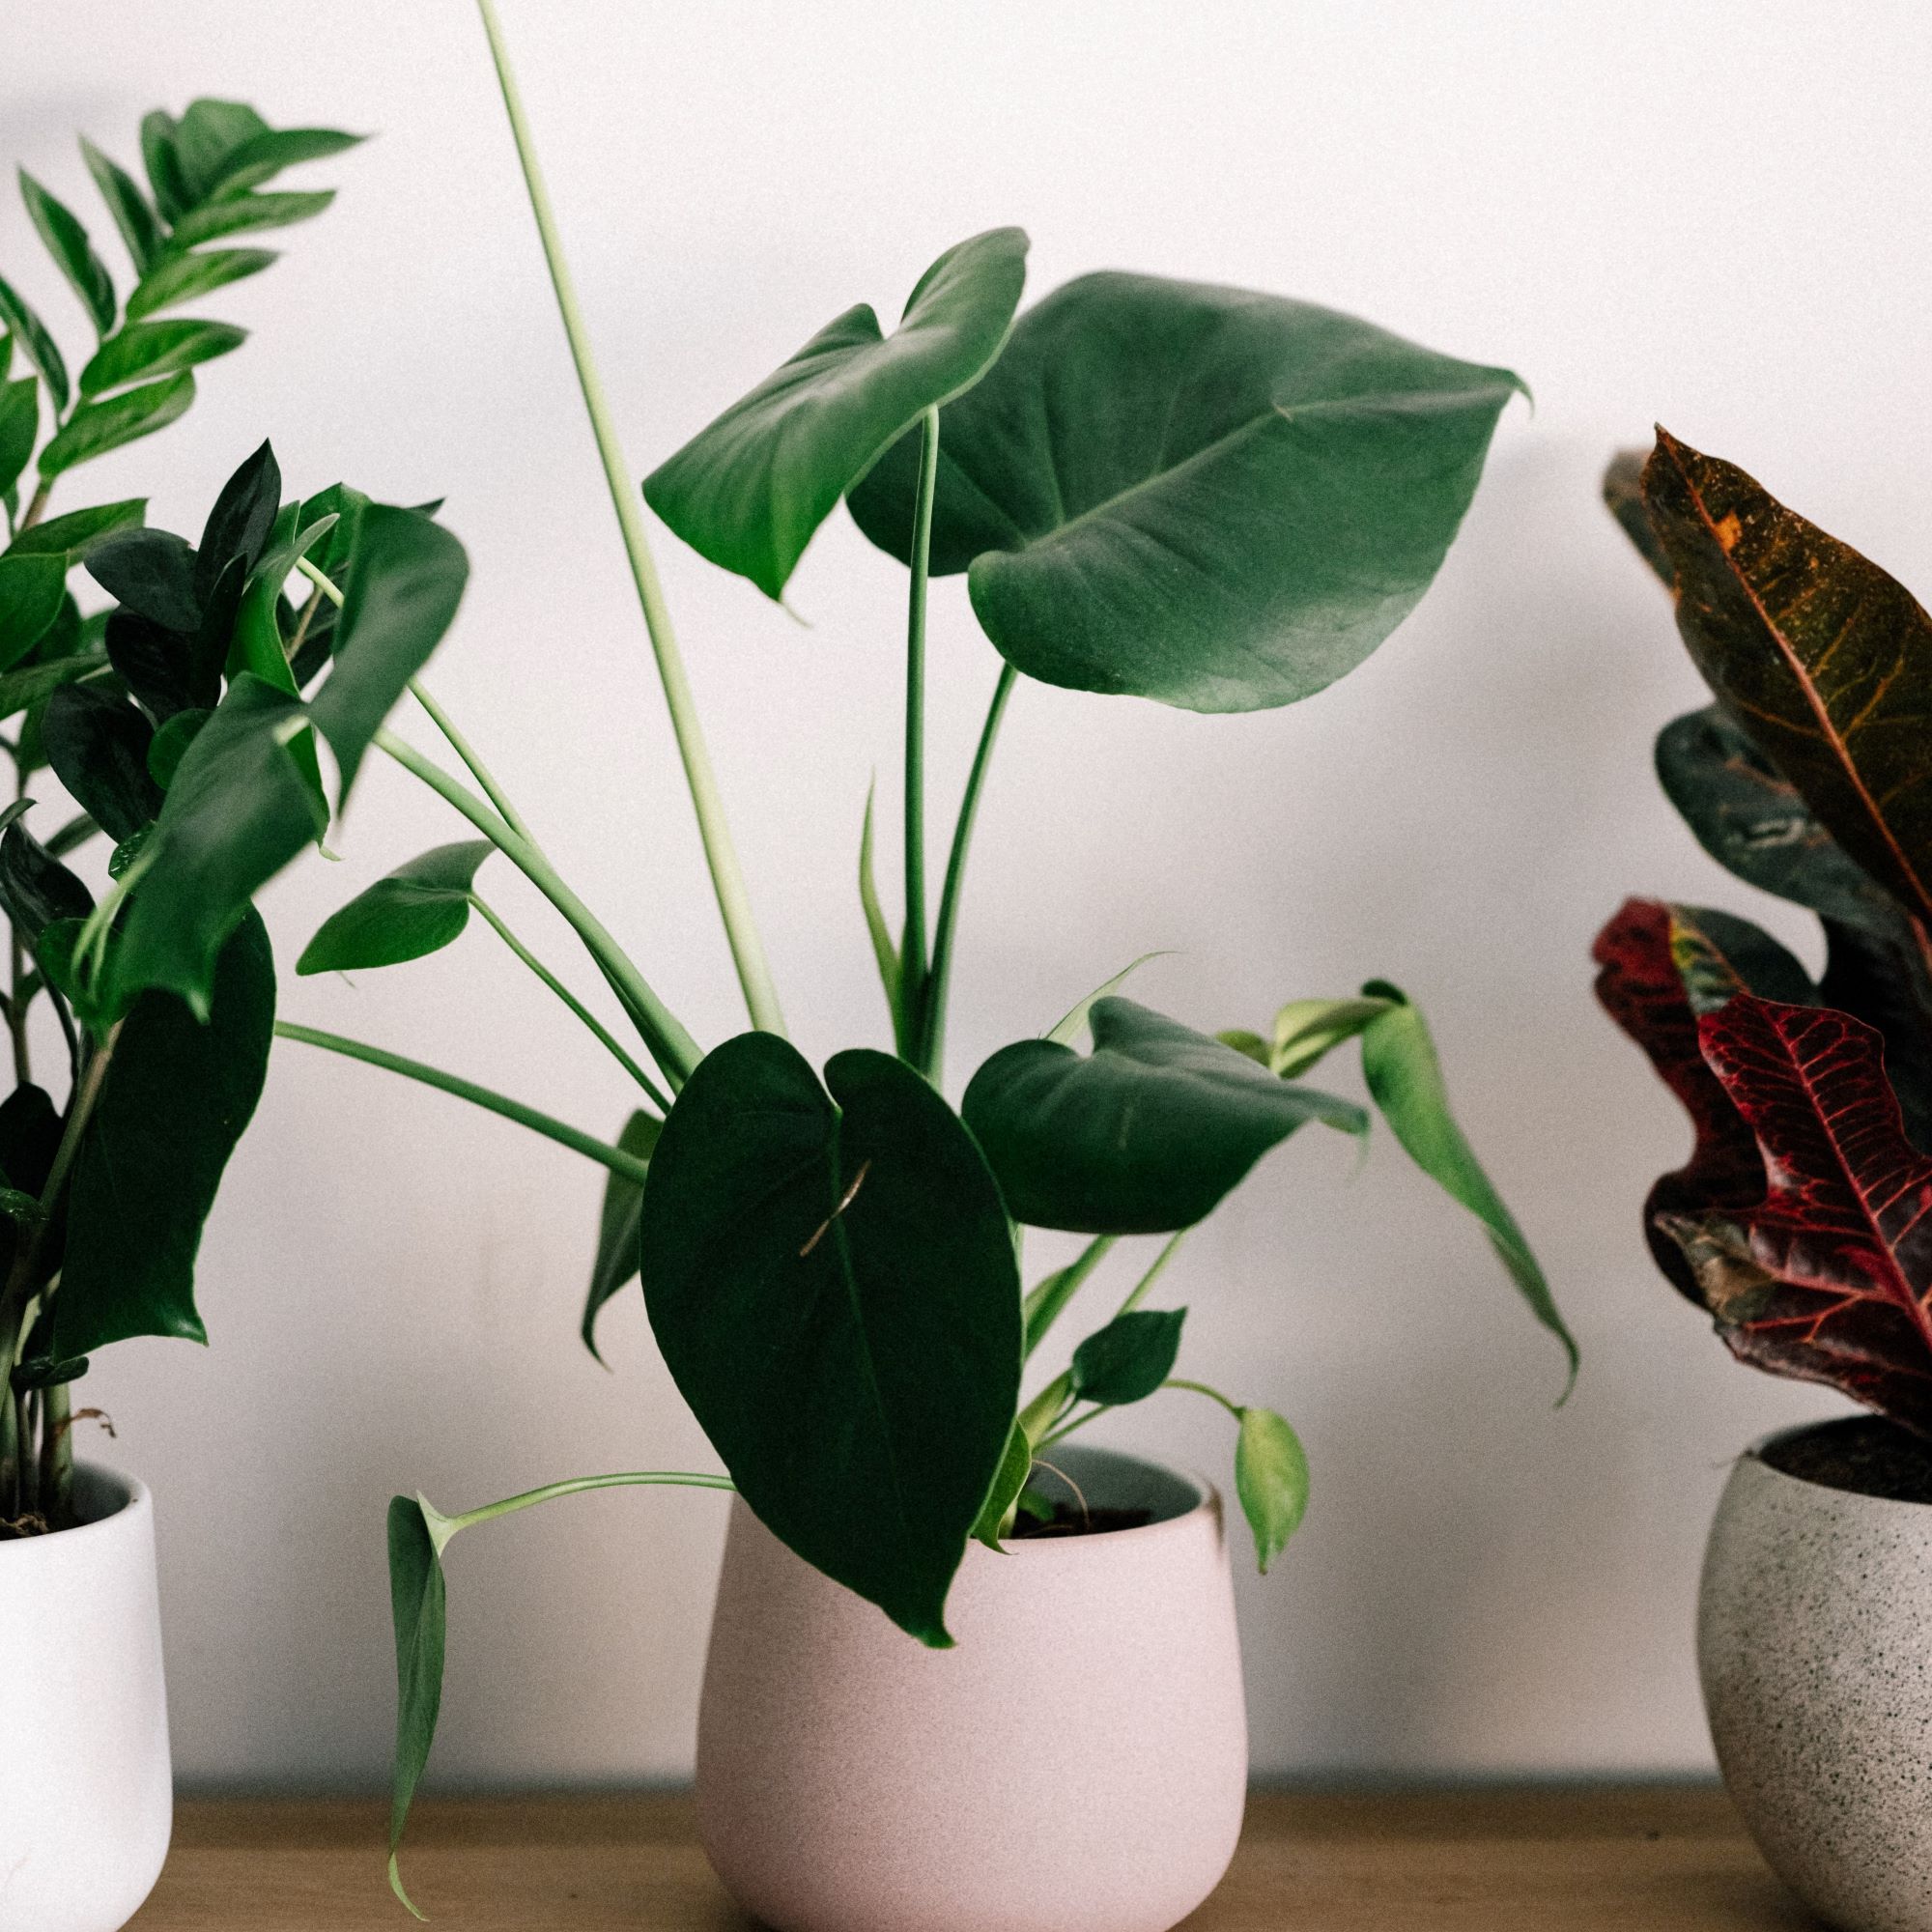
The pot that you use for your Monstera provides it with its home! Here’s how to pick a pot that’s the right type and size. We’ll go over the pros and cons of each variety.
Table of Contents
What type of pot to use for your Monstera
Plastic Pots
Plants purchased from a garden center or plant shop usually come in a thin plastic pot. These pots, known as nursery pots, are perfectly adequate for growing Monstera; however, they tend not to be the most beautiful.
Pros: Lightweight, have drainage holes, the least expensive because they come with the plant
Cons: Don’t match your interior decor, not transparent
The best use for plastic pots is for double-potting with another type of pot. This is a great combo to use if you have another pot that lacks drainage holes. For example, a 3.5 inch plastic nursery pot can be placed inside a 4 inch pot of another type, even one without holes. The outer pot in this situation is called a cache pot.
This allows you to switch plants and pots easily, enjoy the aesthetics of the cache pot, and take advantage of drainage holes in the plastic pot without water leaking out onto your furniture. A win-win-win!
For super large plants, you can even place the nursery pot inside a large bag or basket and save yourself the cost of purchasing a giant pot while still matching your interior style.
Transparent Plastic Pots
My absolute favorite type of pot to use for Monstera is a transparent plastic pot, like the kind used for growing orchids. Unfortunately, they can be hard to find in stores, but Amazon carries lots of varieties up to 8 inches in size! Look for the type with holes in the bottom instead of slots in the sides. A Monstera’s large roots tend to get caught in the slotted kind. Click the image or link to check the current price.

The reason transparent pots are best is that you can see your plants roots and soil! They make it easy to keep tabs on root health, check for rot, and know when your Monstera is rootbound and ready for a pot upgrade. Furthermore, you can see the moisture in the soil, which helps you figure out exactly the right time to water.
Pros: Lightweight, good drainage, see your roots and soil moisture
Cons: Although personally I find it cool, the view of dirt and roots might not match your vibe. Additionally, these pots are impossible to find in very large sizes.
Porous Pots
Unsealed terracotta, clay, or concrete pots are porous, which means that the material contains tiny holes that air and water can travel through. Terracotta pots can be a great budget-friendly compromise between looks and price. They are available at most hardware stores and garden centers, and are usually less expensive than other ceramic pots.
Pros: Beautiful natural look and texture, usually have drainage holes, easy to find matching saucers, help soil dry out faster
Cons: Heavy, can’t see roots, not waterproof so they can stain the surface they are sitting on if water soaks through
The consequence of porosity is that your soil will dry out faster. This is a great pot type to use for Monstera because they prefer airflow and good drainage. It’s an even better choice if you tend to overwater! See our watering guide for more tips.
Non-Porous Pots
Most other types of pots fall in this category. Glazed ceramic, stone, fiberglass, resin, wood, and metal pots are non-porous. The pots have been made waterproof, either through the material or with some type of coating. Water and air will not travel through the walls of a non-porous pot.

Pros: Most variety of styles and colors, good light and non-breakable options like metal and fiberglass, options available with drainage
Cons: Some of these materials can have other issues when exposed to water, such as rust on metal or rot on wood. You also can’t see the roots with these type of pots.
Your selection of pot type for your Monstera isn’t complete without a discussion of soil!
How big of a pot to use for your Monstera
The correct size pot for your Monstera is one that the soil roots (not aerial roots) easily fill, with just a little room to grow. The roots should take up most of the width and depth, with about 1/2 to 1 in of space free on each side.
The aerial roots can be left to hang free, or redirected into the soil. You can also add a support to your pot if your Monstera is leaning to one side.
Using a pot that is too big isn’t a guaranteed recipe for disaster with the right soil mix, but it can lead to overwatering. In general, a pot too large for your Monstera’s root ball will hold more moisture than the roots can use. A pot that is too small can cause your plant to stop growing. This can make it more difficult for your Monstera to grow split leaves.
Using DIY pots for Monstera
A great do-it-yourself stand in for transparent plastic pots are takeout containers. I like the clear flexible ones that soup or ramen comes in, or even empty Starbucks cups. You can add holes by heating the tip of a nail or metal skewer in a candle flame, and then press it through the base of the plastic. Be sure to do this in a well-ventilated area, and protect yourself from the heat.
If you are crafty, anything around the house that can hold soil can be used as a pot for your Monstera! With the right set of drill bits, you can add holes to metal, stoneware, and ceramic containers to enhance the drainage as well. Using vessels without drainage, like glass jars, takes more thoughtful setup, but it can be done!
Want to use what we use for our Monstera plants? Check out our Monstera care product recommendations that you can purchase from Amazon.