Repotting your Monstera with a moss pole provides support for it to climb as it grows. Whether you have a plant growing sideways and out of control, or want to encourage your Monstera to develop leaf splits and fenestrations, providing a support will help!
Table of Contents
Do Monsteras need a moss pole?
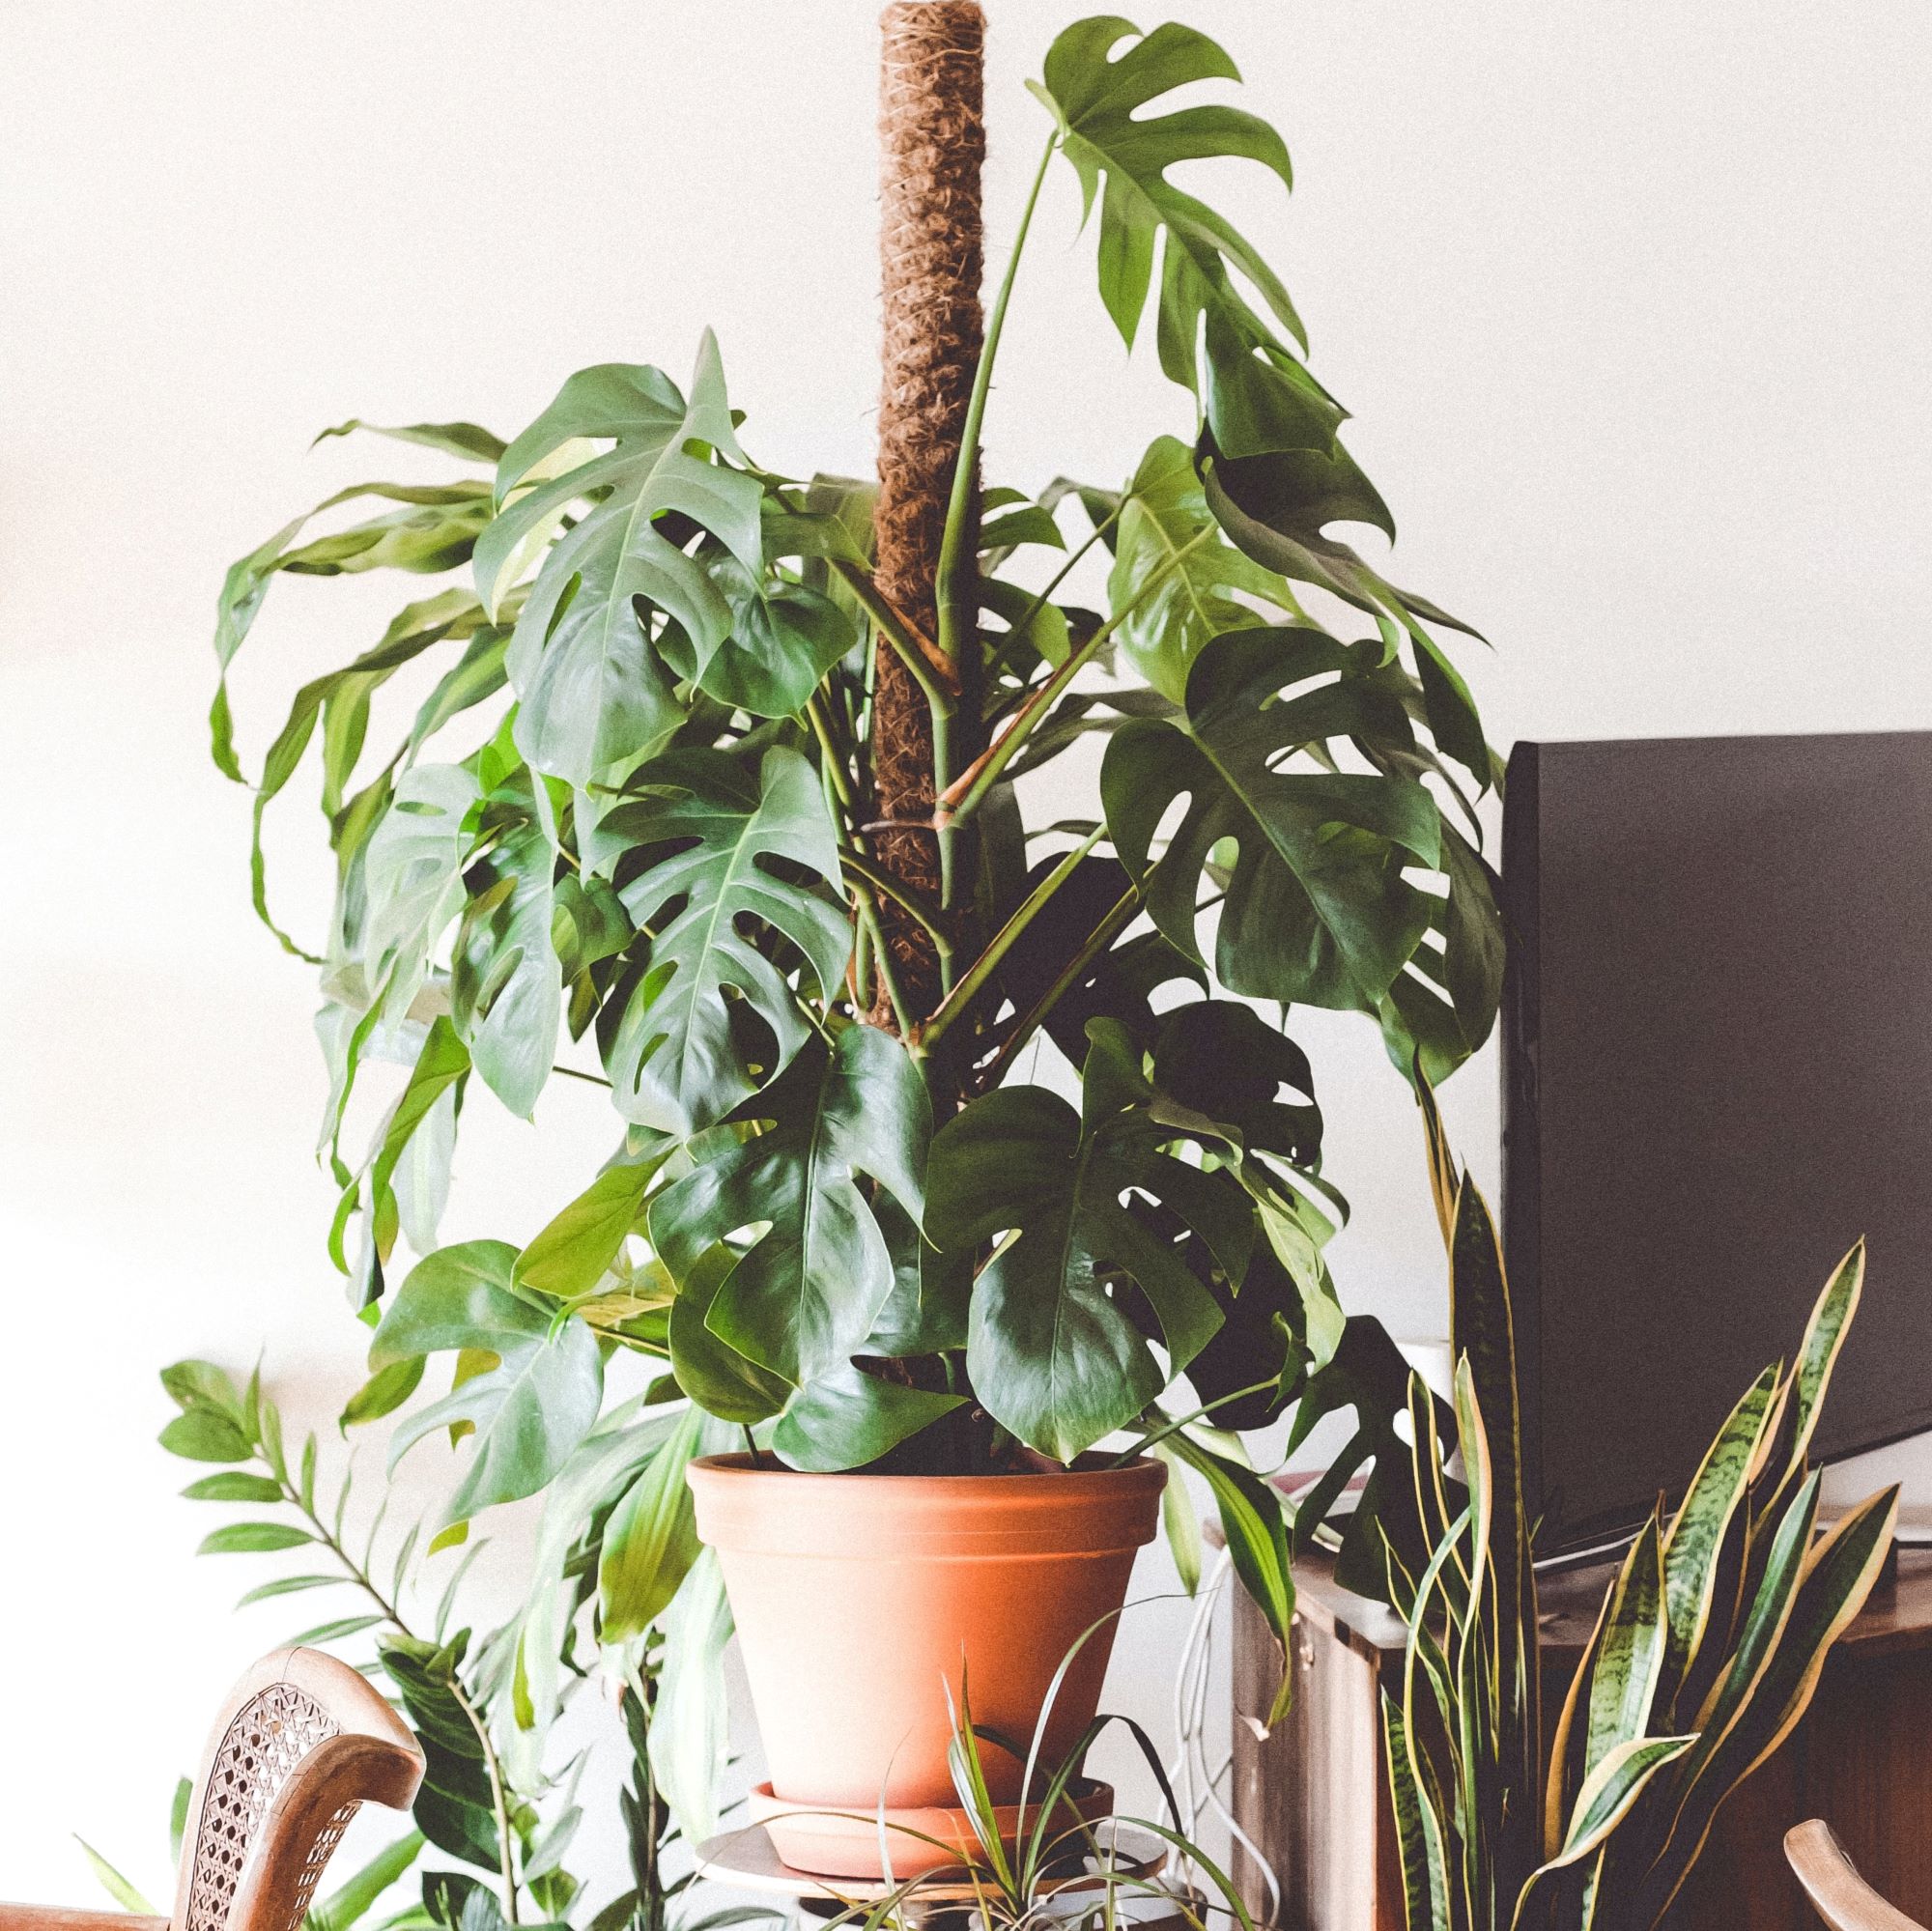
While Monsteras can grow just fine without a moss pole, adding a pole more closely mimics their habitat in the wild. Monsteras are epiphytes, which means they grow on tree trunks for support. Their aerial roots grow into the support and help them cling. A moss pole can help you achieve a more natural growing environment for your Monstera in your home. Check Amazon for the current price by clicking on the image or link.

Moss poles have the following benefits:
- Supporting the plant
- Training growth direction
- Triggering growth and branching of aerial roots
- Providing an additional source of water and nutrients
- Encouraging larger, more mature leaves
Any Monstera variety with a climbing habit, such as Monstera Deliciosa and Monstera Adansonii, can benefit from a moss pole. In addition, many philodendrons and other plants can use moss poles in the same way.
Monstera growing sideways
If your Monstera is already too large or unruly, it’s not too late to train it with a moss pole. For large plants growing in all directions, a moss pole provides an anchor point to tie leaves that are spilling out of the pot. On the other hand, if your Monstera is growing sideways, a moss pole can train the stem to turn and grow in a more vertical direction.
Moss pole alternatives
While moss poles are the most common, there are a variety of climbing poles that can be used with Monstera.
- Traditional moss pole: This pole contains a stiff core made of wood or plastic, surrounded by sphagnum moss strands. The moss can be contained by a twine, plastic, or mesh wrapper.
- Coco pole: This pole is similar to a sphagnum moss pole, but uses coco coir or coco fiber instead of moss.
- Trellis: Available in a variety of materials, a trellis provides a wider surface for the plant to grow up. Trellises are used most commonly for small-leafed vining plants. They do not contain a moisture retaining medium like coco or moss poles.
- Stake: Made of plastic, metal, or rot-resistant wood, like bamboo or driftwood, a stake is the simplest method of support.
 Hydrofarm HGBB4 4′ Natural, Pack of 25 Bamboo Stake, 4 foot, Tan
Click the image or link to view the current price on Amazon.
Repotting Monstera with a moss pole
The best way to add a moss pole to your Monstera is doing it when your repot. This lets you place the pole deep in the pot without damaging any roots while inserting it.
Selecting your moss pole
The first step of repotting with a moss pole is choosing your pole and pot.
Moss poles come in many lengths, so select one that is tall enough for your plant. The ideal length is the height of the pot plus the height of the stem above the pot, with a little left over to grow. Some moss poles are extendable, so you can add a new piece on top if your plant outgrows the first pole.
Next, select your favorite type of pot from the pot guide. The pot should be wide enough to fit both the pole and your Monstera’s root system, with a small space left over. Try to pick one with 1/2 to 1 inch (1 – 2.5 cm) of room around roots to the edge of the pot on each side.
If your Monstera was recently repotted and still has lots of space in its pot, you can take it out, add a moss pole, and repot into the same pot
When selecting where in the pot to place the pole, keep a few things in mind. First, try to place it near the stem of your Monstera so it will be easy to tie. Second, position it towards the back of the pot so it will be mostly hidden by the leaves.
How to repot a Monstera with a moss pole
Once you’ve planned the location and orientation of the plant and pole, it’s time to repot! Hold the pole steady in the desired location in the pot, going all the way to the bottom. Then, add your soil mixture one to two inches (2.5 – 5 cm) deep, pouring it around the pole. Add your plant, making sure it is centered. Then, fill in the rest of the empty space with soil mix, filling the pot almost to the top.
You might notice your pole wiggling a little bit, but avoid compacting the soil to hold it in place. When you water your newly repotted Monstera, it will help the soil settle down and hold the pole in place. The pole will also become more secure with time as roots grow around it.
How to add a moss pole to Monstera without repotting
Adding a support without repotting is usually less secure than planting a moss pole with your Monstera, but it can still work just fine.
To add a support pole to an already potted Monstera, choose an option that will minimize damage to the roots. This could be a narrow moss pole, a pole or trellis with a narrow pointed stake at the bottom, or a narrow bamboo stick pole.
Insert the support gently at a location where you expect the least amount of roots to be. When you encounter resistance, you might be contacting roots, so don’t push any further. If the support is not deep enough, pick a new spot and try again. If your Monstera is too rootbound to insert a support anywhere, you might be better off repotting it anyway!
Training Monstera to grow with a moss pole
Once your moss pole is in place, it’s time to attach the plant. Gently gather up the leaves and stems and secure them in the location you would like them to be. Position the stems so that aerial roots are in contact with the moss or coco fiber.
Over time, as the aerial roots grow into the pole, the plant will attach itself. When this happens, you no longer need to keep the ties.
Tying your Monstera to a moss pole
You can use any fastener to tie your Monstera to the pole, like string, twine, twisty ties, zip ties, or velcro. I prefer to use velcro garden ties. The green color blends into the plant, and they are soft and wide to avoid damaging the stem. You can cut them to any length, put them on using one hand, and undo or reuse at any time. Check Amazon for the current price by clicking on the image or link.

Wrap your tie around both the pole and the stem of your Monstera. Try to position the tie so it goes around the internode (the part of the stem between nodes). This will keep the tie free from interfering with any aerial roots or growth points.
Should you keep your moss pole moist?
Keeping the moss pole moist encourages aerial roots to attach to it. Over time, they will grow into the pole, turning into normal roots that can absorb water and nutrients. This additional supply can help your Monstera grow faster and develop more mature leaves.
If you are using a moss or coco support, soak it before inserting to get it wet the first time. After that, spray the pole with water every few days to keep it lightly moist. The absorbent moss or coco fiber should retain the water. Check Amazon for the current price by clicking on the image or link.

Some people water their moss poles by pouring water on them, but this method has not been successful for me. Usually, most of the water just pours into the soil.
You can also build or buy a self watering moss pole. Some have a hollow core that you can fill with water to seep into the moss. Others have a cloth wick that you place in the pot to carry soil moisture up into the pole.
A warning about moss poles and propagation
It can be very difficult to remove a Monstera from a moss pole once the roots have attached. In doing so, you are likely to damage either the pole or the roots. If you want to take cuttings from your plant in the near future, I recommend air layering the aerial roots in those sections instead of letting them attach to the pole. Alternatively, you can also cut the moss pole when you take the cutting to leave the roots inside it.
If you are using a moss or coca support, soak it before inserting to get it wet. You can also build or buy a moss pole with a cloth wick that will carry soil moisture up into the pole.
Click to view MonsteraGuide’s best Amazon products to care for your Monstera plants. We researched products, filtered through the reviews, and even tested them to save you time. We use these exact products on our own Monstera (Deliciosa, Adansonii, and Albo Variegata) plants, and they receive a lot of praise on Instagram!